CANDIED PECAN GOAT CHEESE PUMPKIN BITES

CANDIED PECAN GOAT CHEESE PUMPKIN BITES

GOAT CHEESE BITES … it’s not a trick, they’re a treat!

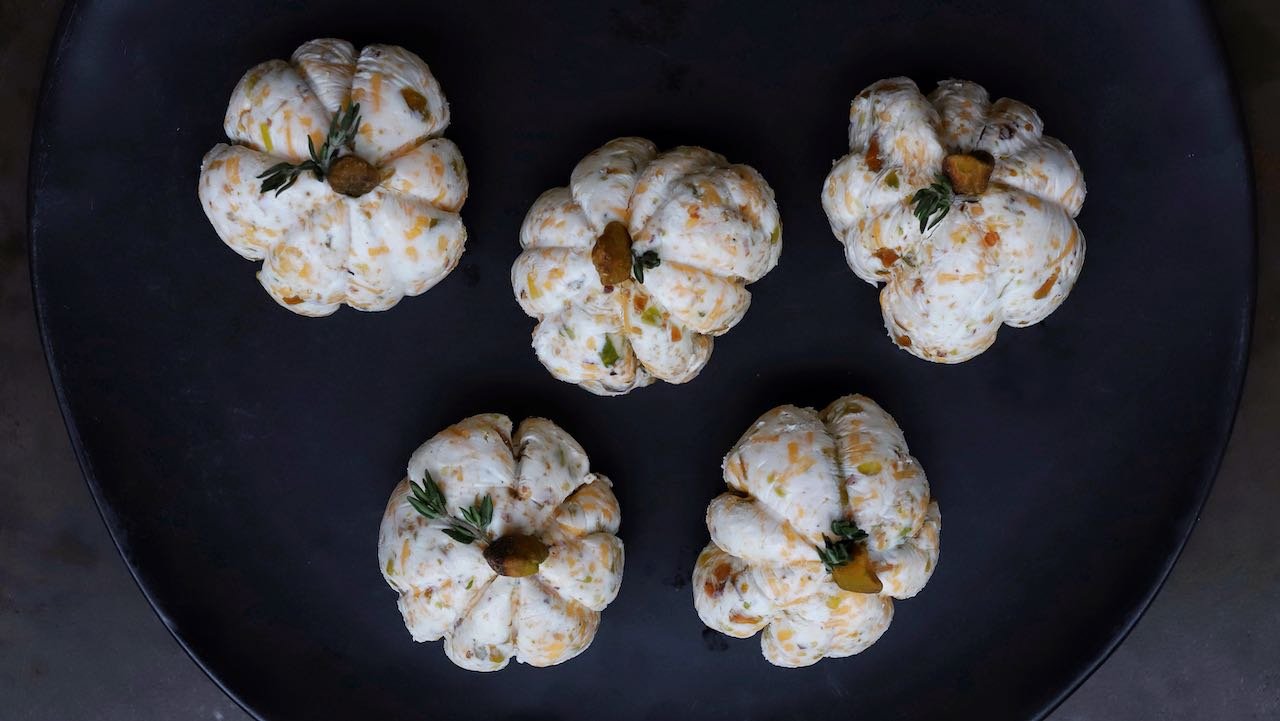
When it comes to a seasonal cheeseboard adding shaped elements can definitely be cheesy. There’s a fine line between gimmicky and sophisticated. Putting these classy pumpkin cheese bites on a board is a badass move. They are clever with thoughtful flavor profile.

They are super easy to make. A quick cook on the nuts, mix it with the goat cheese in a bowl, and shape them with plastic wrap and rubber bands. Everyone will think you spent hours on them and, shh, you don’t have to correct them—that’s my kind of trick! Make them for Halloween, Thanksgiving, or even a Friendsgiving spread.

CANDIED PECAN PUMPKIN GOAT CHEESE BITES

CANDIED PECAN PUMPKIN GOAT CHEESE BITES

Yield: 5 Pumpkins
Author:
Prep time: 15 MinCook time: 2 MinInactive time: 20 MinTotal time: 37 Min

Ingredients

Kitchen Tools

Instructions

TO MAKE YOUR PUMPKIN CANDIED PECANS
  1. Over medium heat, melt your butter in your frying pan.
  2. Add pecans and toss them (or mix with your spatula) so they are all fully coated in butter.
  3. Add in your dark brown sugar, cinnamon, salt, and then pumpkin. Use your spatula to evenly mix it all together. Transfer your pecan mixture to your mixing bowl. Spread it across the bottom to help it cool quickly. Let sit for about 5 minutes so it's not scalding hot.
TO MAKE YOUR PUMPKIN SHAPED CHEESE BITES
  1. Add your goat cheese to your candied pecans in your mixing bowl. Mix until you have an even texture.
  2. Use your ice cream scoop to scoop 5 evenly sized balls. Roll each one into a perfect ball.
  3. Rip cling wrap in squares just large enough to wrap each of your cheese balls without excess wrap falling off or piling up on it. Wrap each one of your cheese balls in its own piece of cling wrap.
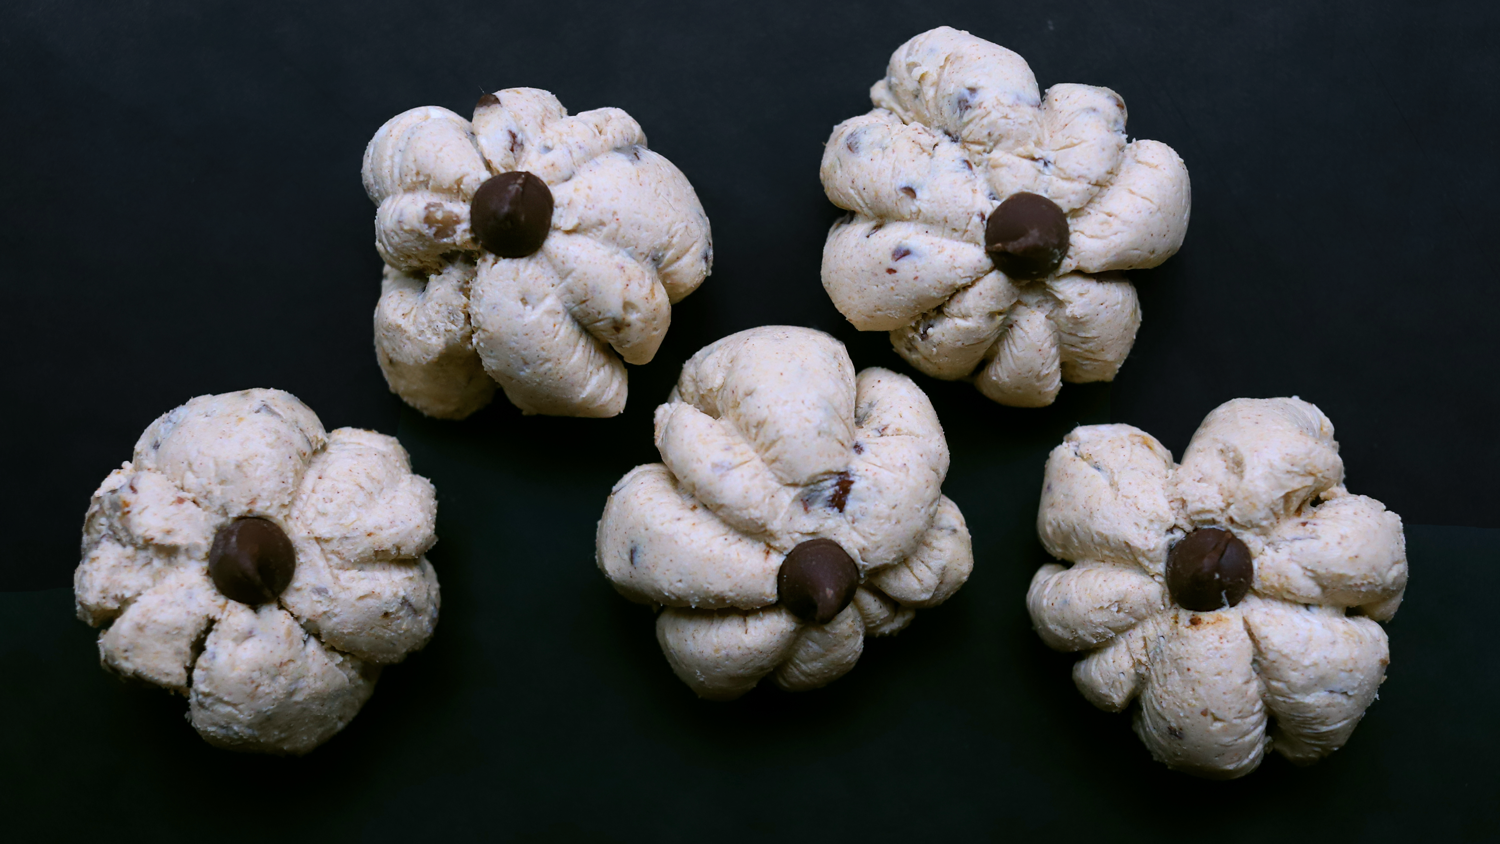
  4. Wrap two rubber bands around each cling wrap-wrapped cheese ball. Your first rubber band should wrap over it so that it looks like a "+" sign. Wrap your second rubber band over your first in the shape of an "X". This will give you the rib lines of your pumpkin.
  5. Place all of your pumpkins on a plate and refrigerate until hardened—at least 15 minutes.
  6. Gently remove the rubber bands and cling wrap.
  7. Stick a chocolate chip where all of your lines intersect on the top of each of your pumpkins. This will be your pumpkin's stem.
  8. Add to a cheese board or serve on a seasonal spread. Eat and enjoy!
Did you make this recipe?
Tag @coffeeandchampagne on instagram and hashtag it #coffeeandchampagnekitchen
Previous
Previous

PUMPKIN-SHAPED DINNER ROLLS WITH HONEY PUMPKIN BUTTER GLAZE

Next
Next

PAN-SEARED SWEET POTATO GHOSTS