HOW TO MAKE THE MOST BEAUTIFUL CHEESEBOARDS
THE DIFFERENCE BETWEEN A SNACK AND AN EXPERIENCE.
Welcome to your ultimate guide to building gorgeous, thematic cheeseboards that wow your guests. Whether you're preparing for a holiday, gifting a thoughtful creation, or simply hosting friends, these tips will help you craft a visually stunning and delicious board every time.
Scroll down for my tips and tricks to help you make a board that’s sure to impress.
Step 1. Plan Your Cheeseboard Vision
What Is the Purpose Of Your Board?
Is this for a holiday, a special occasion, a specific friend, or a gift?
Think about the recipient or event theme to inspire you. Write down a list of your thoughts.
Choose a Theme.
What Is Your Board’s Theme? Is it seasonal (e.g., Christmas, Thanksgiving) or personal (e.g., birthdays, housewarming)? Once you have it locked, stick to it! Make sure every element supports that theme, and you will end up with a cohesive board.
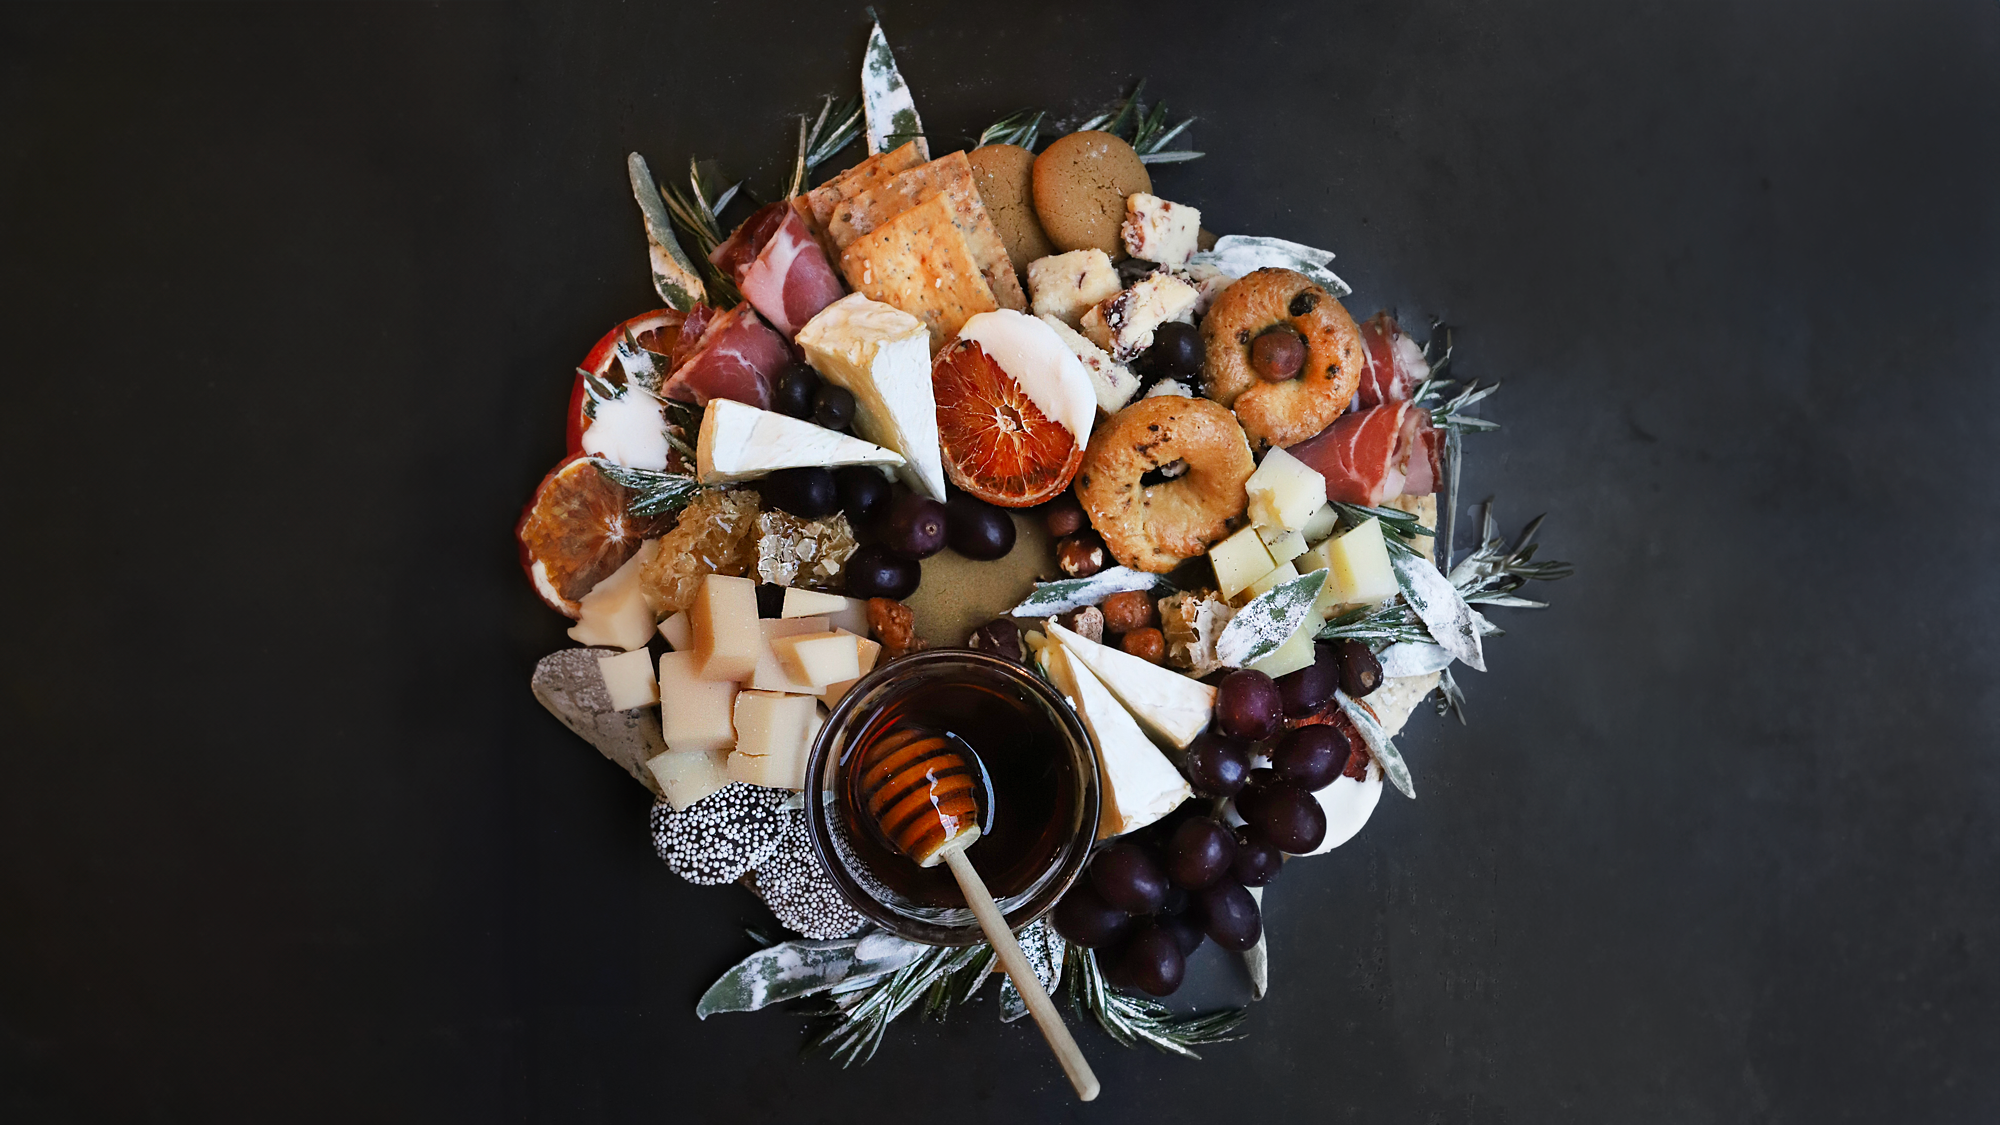
Add Decor. Any added items should firmly complement the theme. Sprigs of rosemary for a winter tree feel. Googly eyes for a spooky or kid-like vibe. Ornaments for a holiday vibe, or bows for a gift-like touch.
Sketch the Layout.
Visualize. Where will cheeses, fruits, nuts, and other elements will go? Start with your “must-have” items. Of those, start with your biggest ones and then work the smaller ones around it.
Focus on Balance. As humans, we find most aesthetically pleasing things to be visibly balanced. Use that to your advantage when planning the layout of your board. If there is a heavy block of cheese on one side of your board, the other side should have a heavy element, too—it doesn’t have to be a cheese just because the first item is. Consider balancing types of meats, cheeses, colors, textures, and heights.
Step 2. Select Ingredients
Cheese Selection.
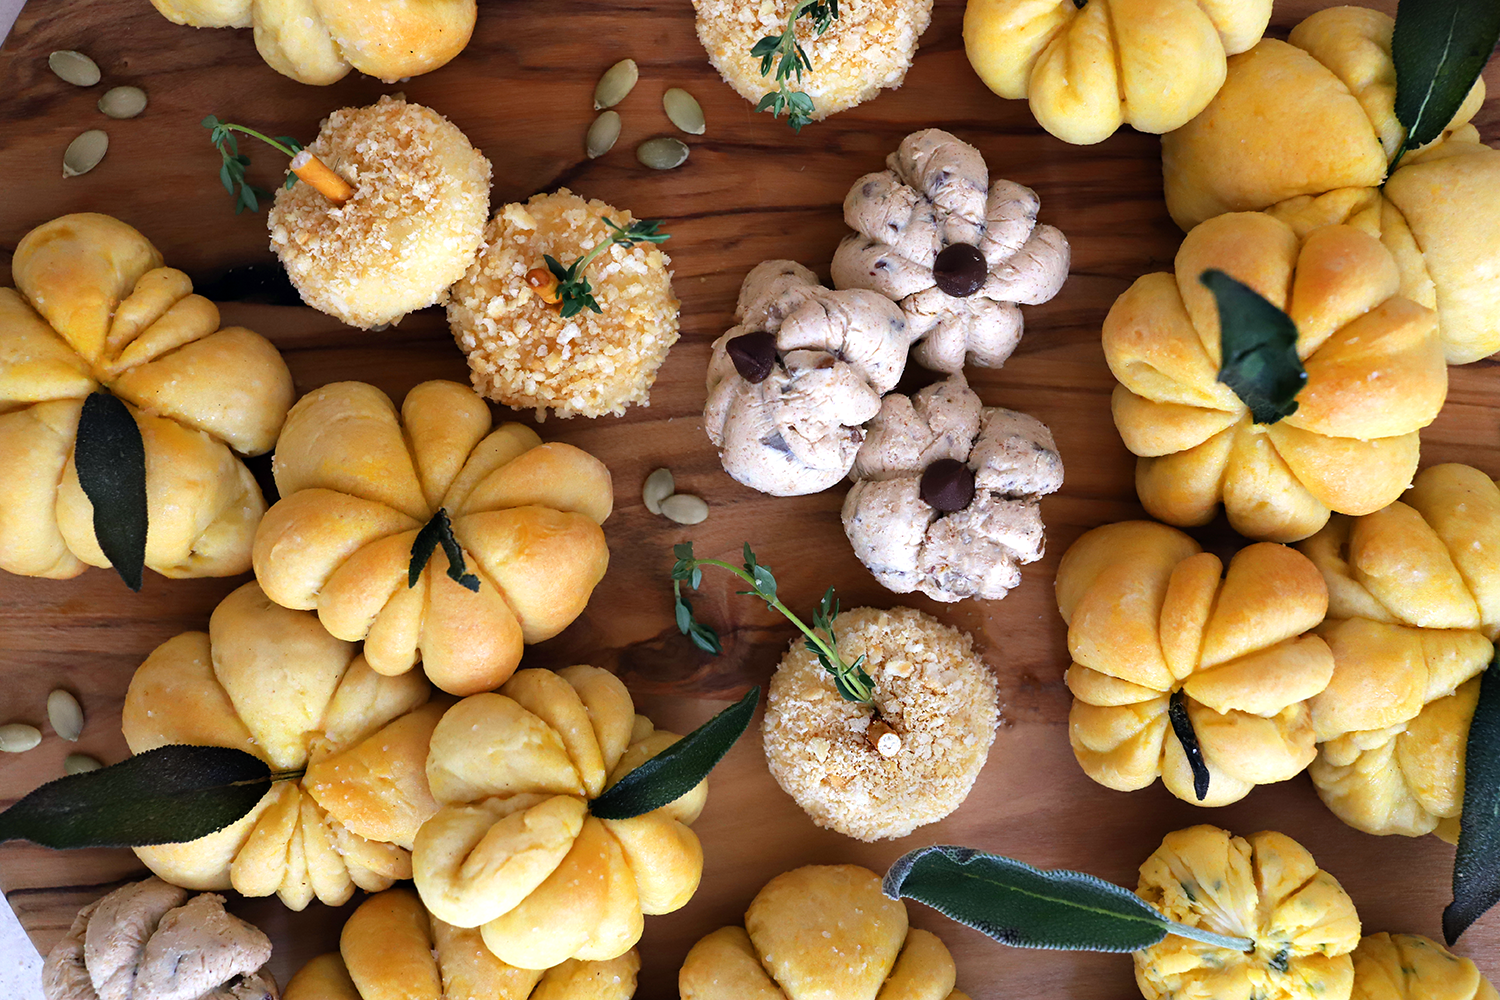
Include a variety of textures and flavors. You want a crowd-pleasing easy-to-eat cheese on every board along with one that will require guests to be brave, and then one that falls in the middle, an easy cheese with added flavor.
Crowd-pleasers: Cheddar, brie, gouda.
Seasonal delights: Cranberry-infused cheese or festive flavors.
Adventurous choices: Blue cheese or aged varieties.
Pairings.
Sweet: Grapes, figs, honey, or jams.
Savory: Olives, nuts, or cured meats.
Crackers & Bread: You can go one of two ways here—or both! Choose neutral flavors or textures that complement the cheeses OR choose an exciting cracker that sparks intrigue. Though, if you do go with the latter, I recommend also including a more basic cracker for the pickier eaters.
Seasonal Extras.
For holidays, use decorative elements like dusted grapes (powdered sugar for a “snowy” effect) or gingerbread cookies for a creative base for your cheeseboard.
Personal Touches.
Show Off Your Talents: If there are ingredients you love, or if you make something really well—focaccia, for example—incorporate them into the board. These are the elements that make the board feel like you while showing your guests that you care.
Who Is This Board For? If there are ingredients that you know your guests love—chocoholic, anyone?—add touches of those bites to the board. Make your guests feel thought of.
Step 3. Prepare & Assemble
Prep Ingredients.
Pre-cut some of your cheeses into organically shaped cubes, slices, or wedges. If you cut your cheeses too perfectly, your board will lose a sense of character.
Wash and dry fruits to maintain freshness and shine.
Arrange with Balance.
Just like you did when you were drawing in your earlier planning stages, start with the largest items (cheese blocks, bowls) as anchors. Strategically place them on opposing spaces on your board to create visual balance.
Fill gaps with smaller items like nuts, fruits, or herbs for a polished look.
Elevate with Decor.
Finesse your board with the addition of sprigs of herbs, small ornaments, and any other themed items you came up with in your planning stages. These are the finishing touches that will level up your board while cementing your theme.

INSPIRATION
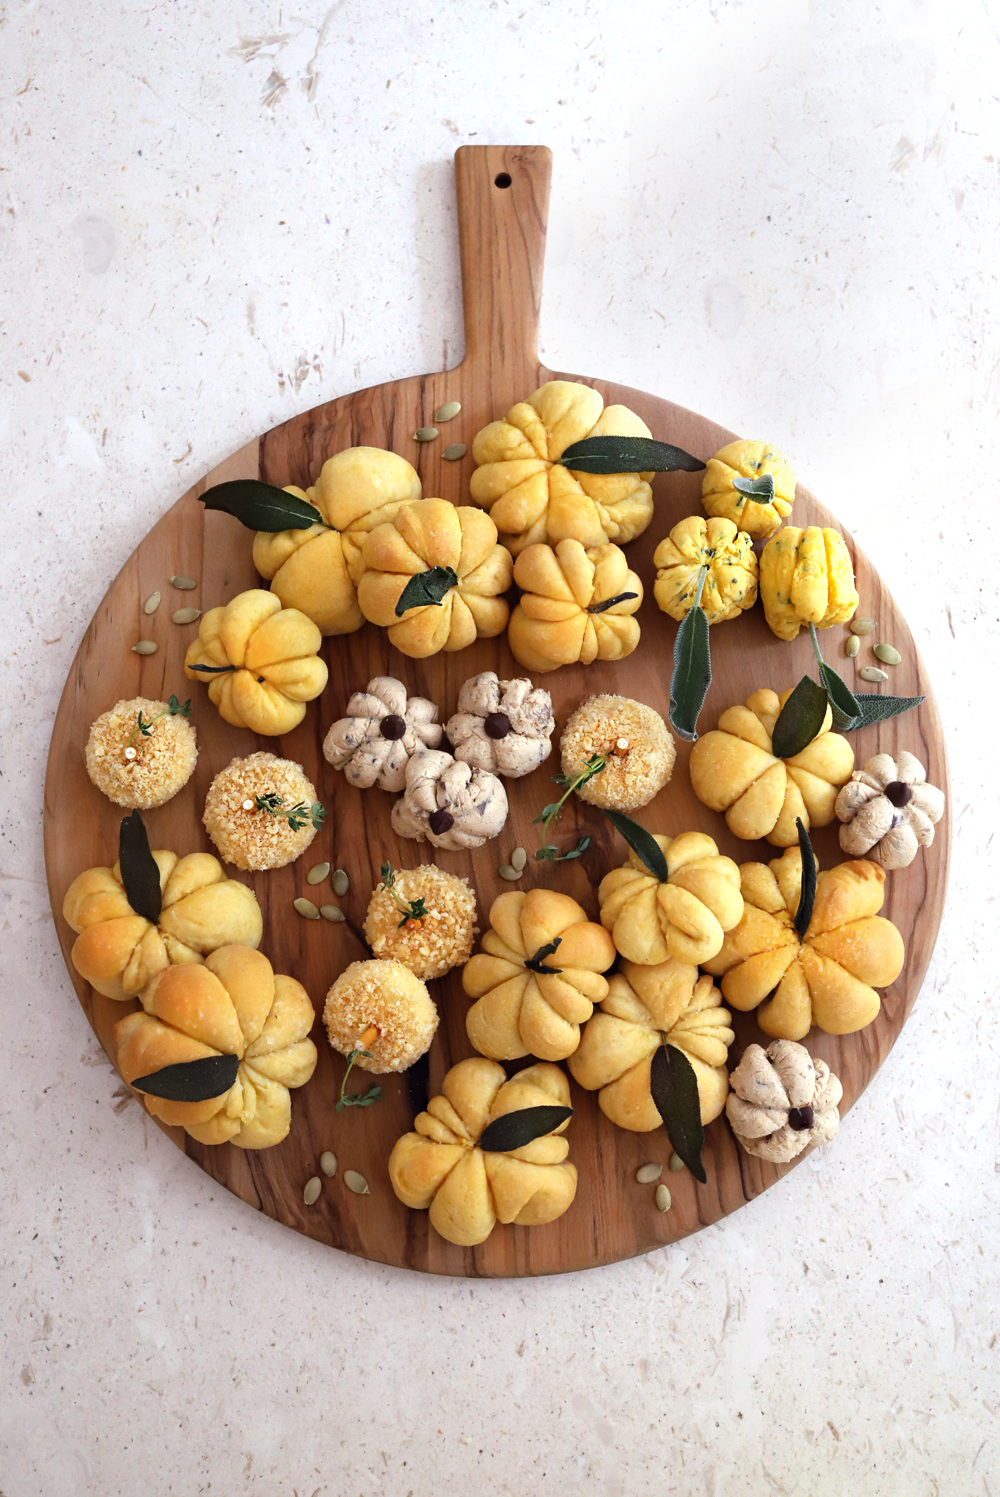
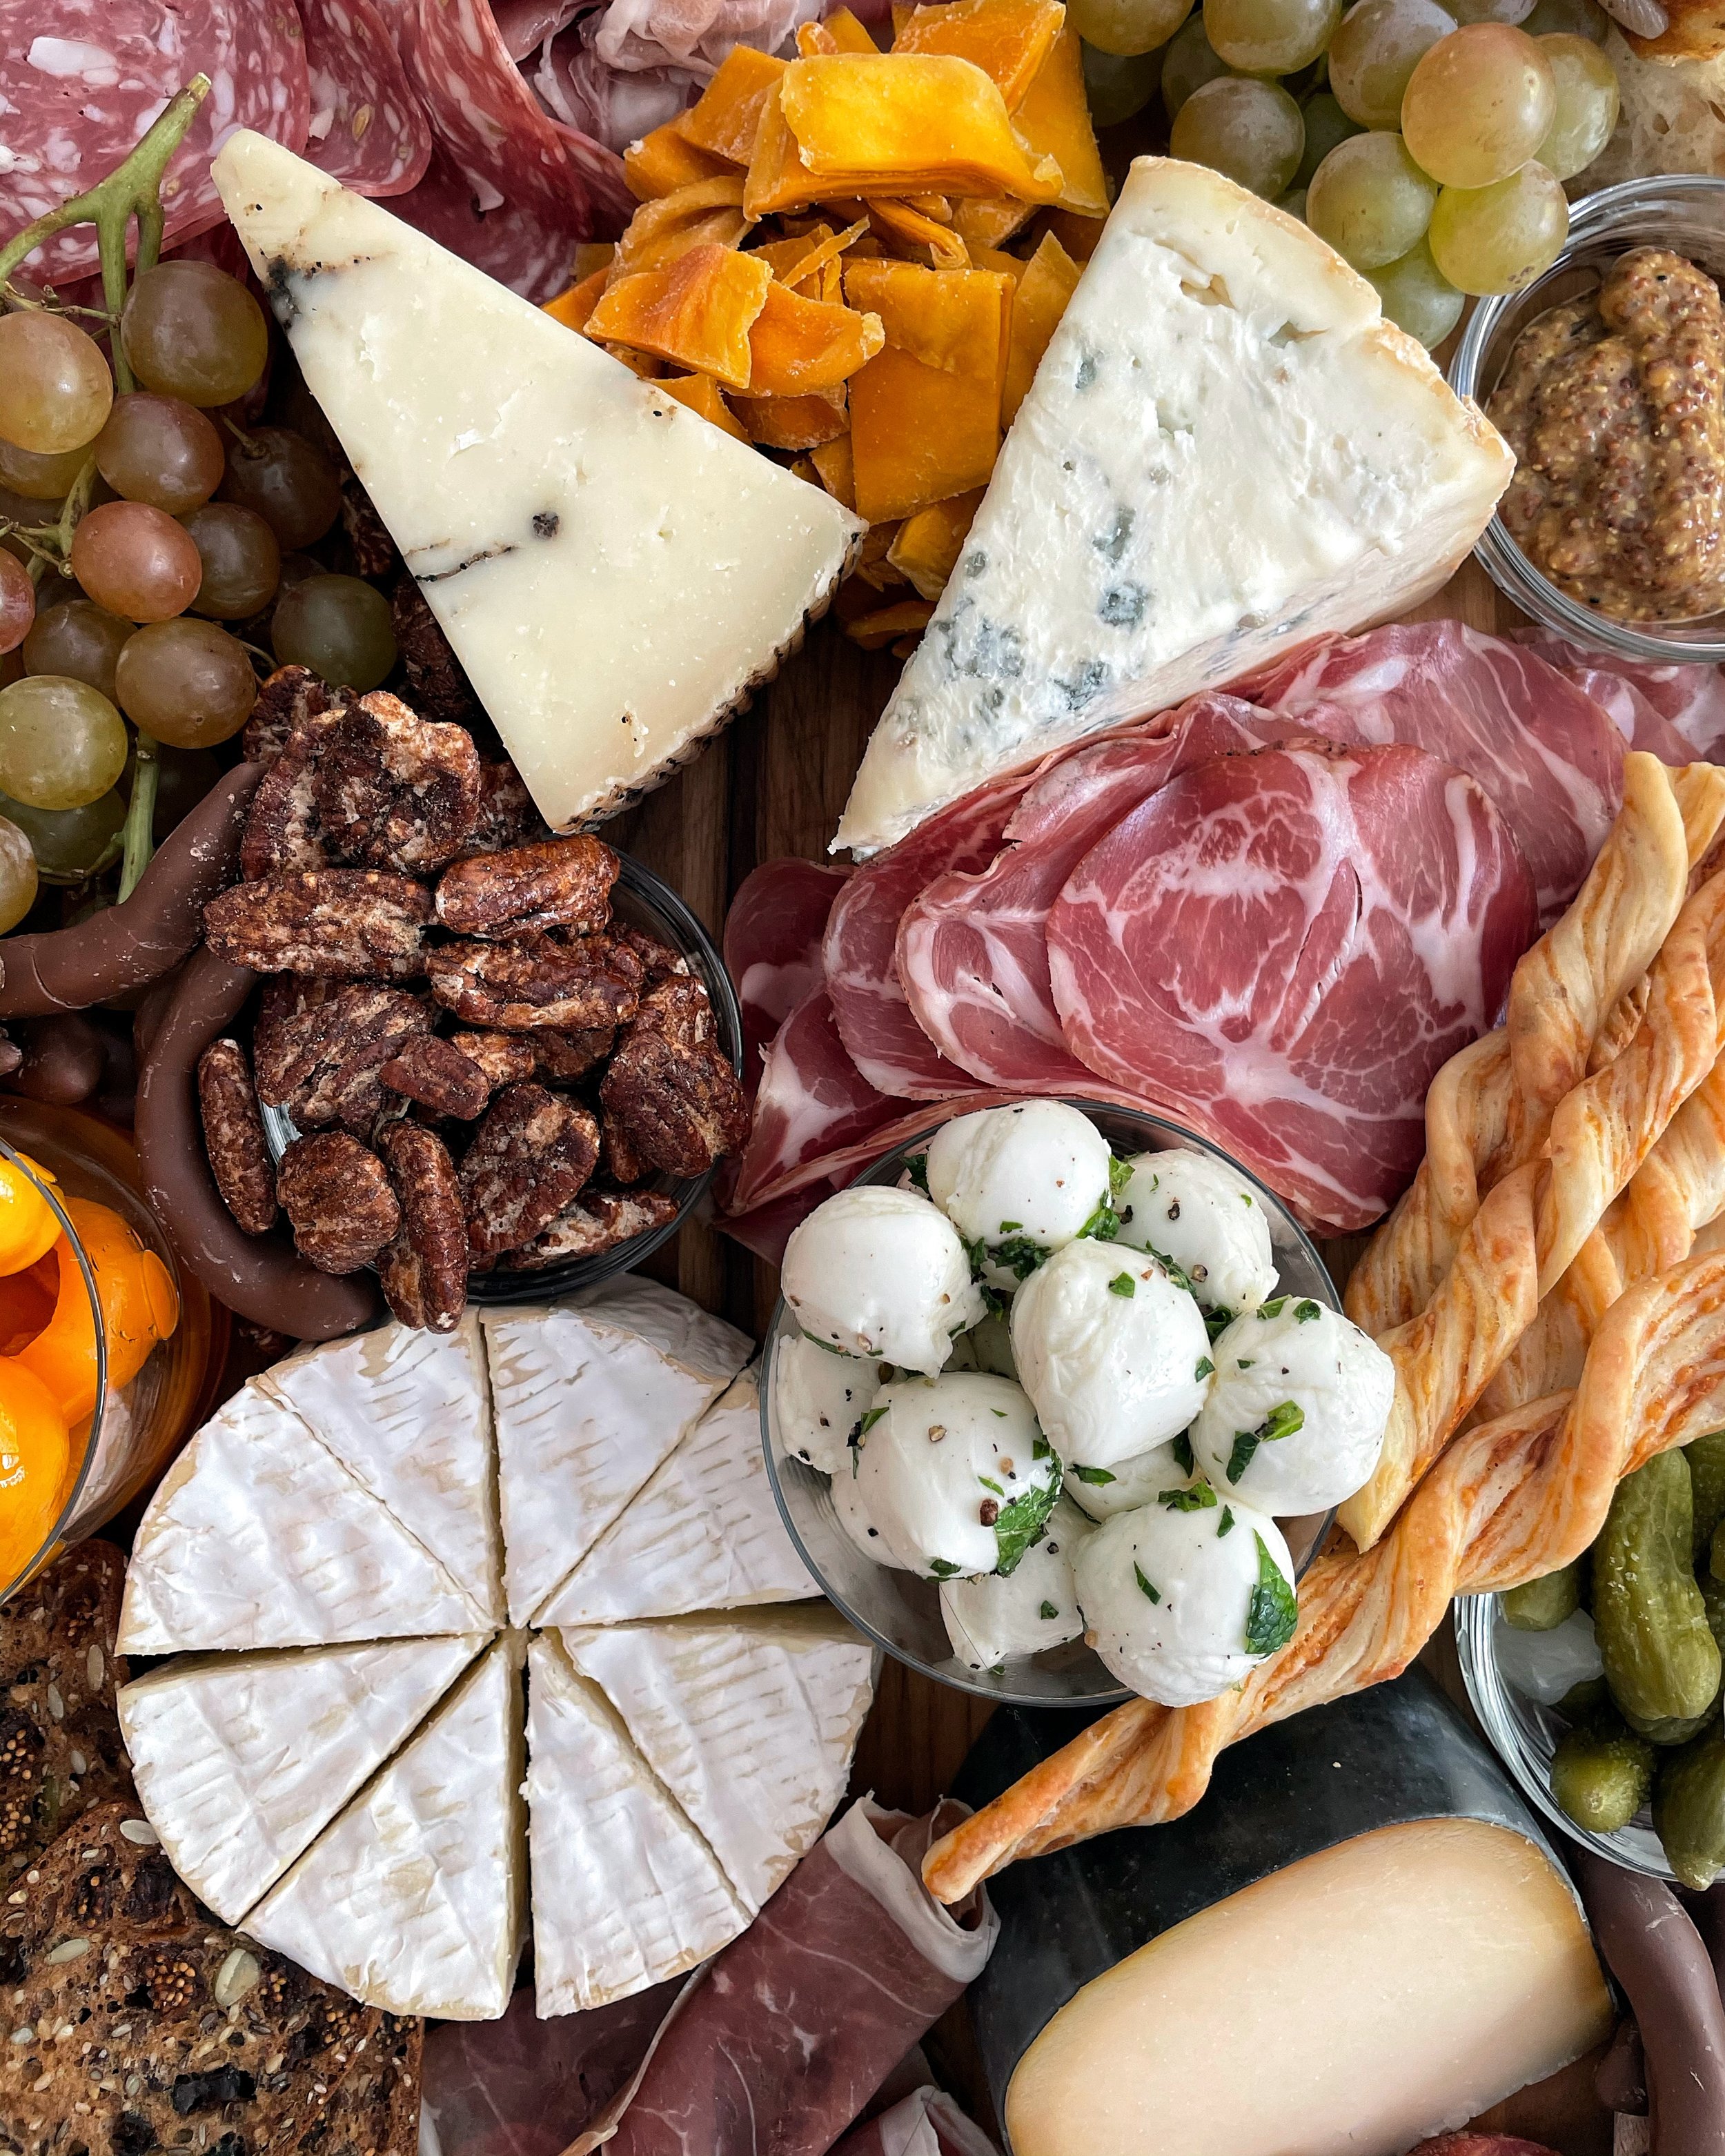
Below are photos of some of the boards, both big and small, that I’ve crafted.


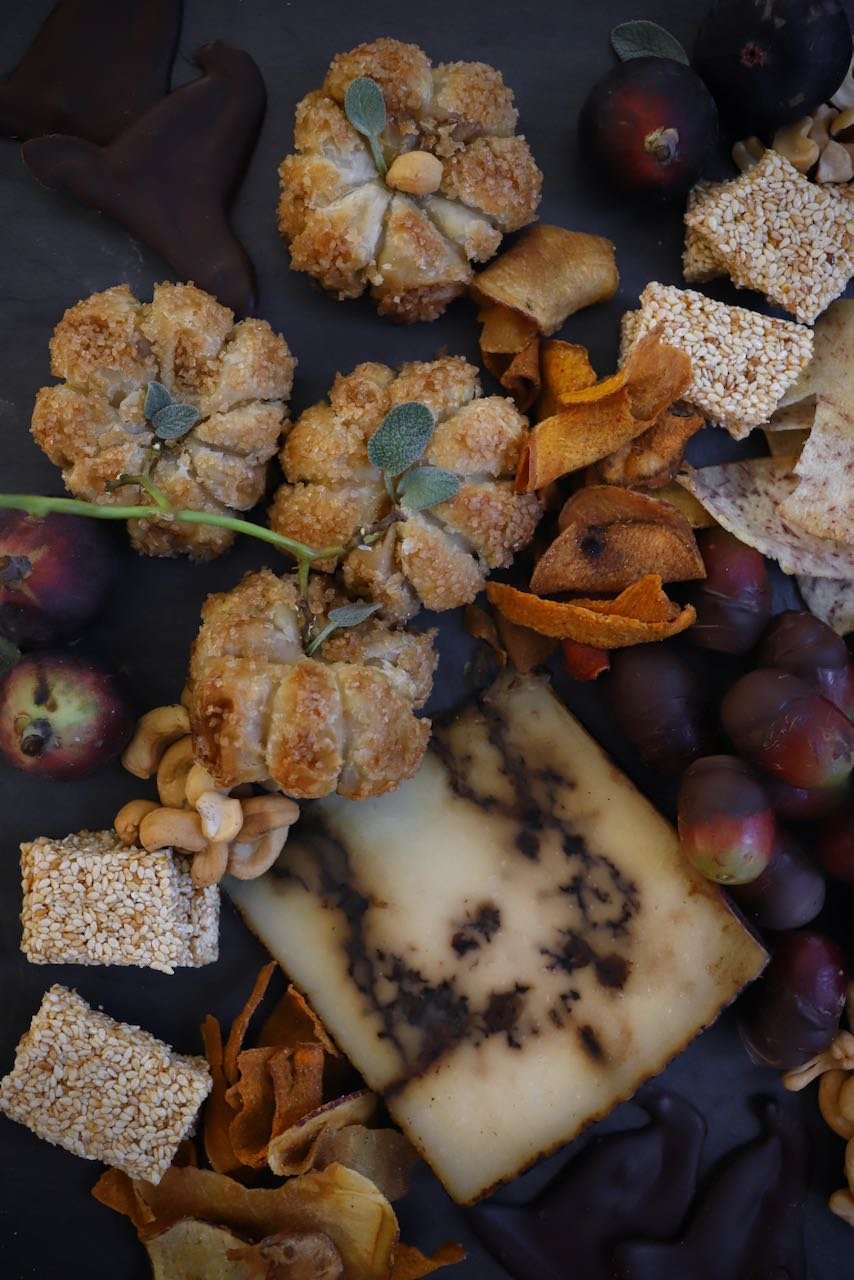
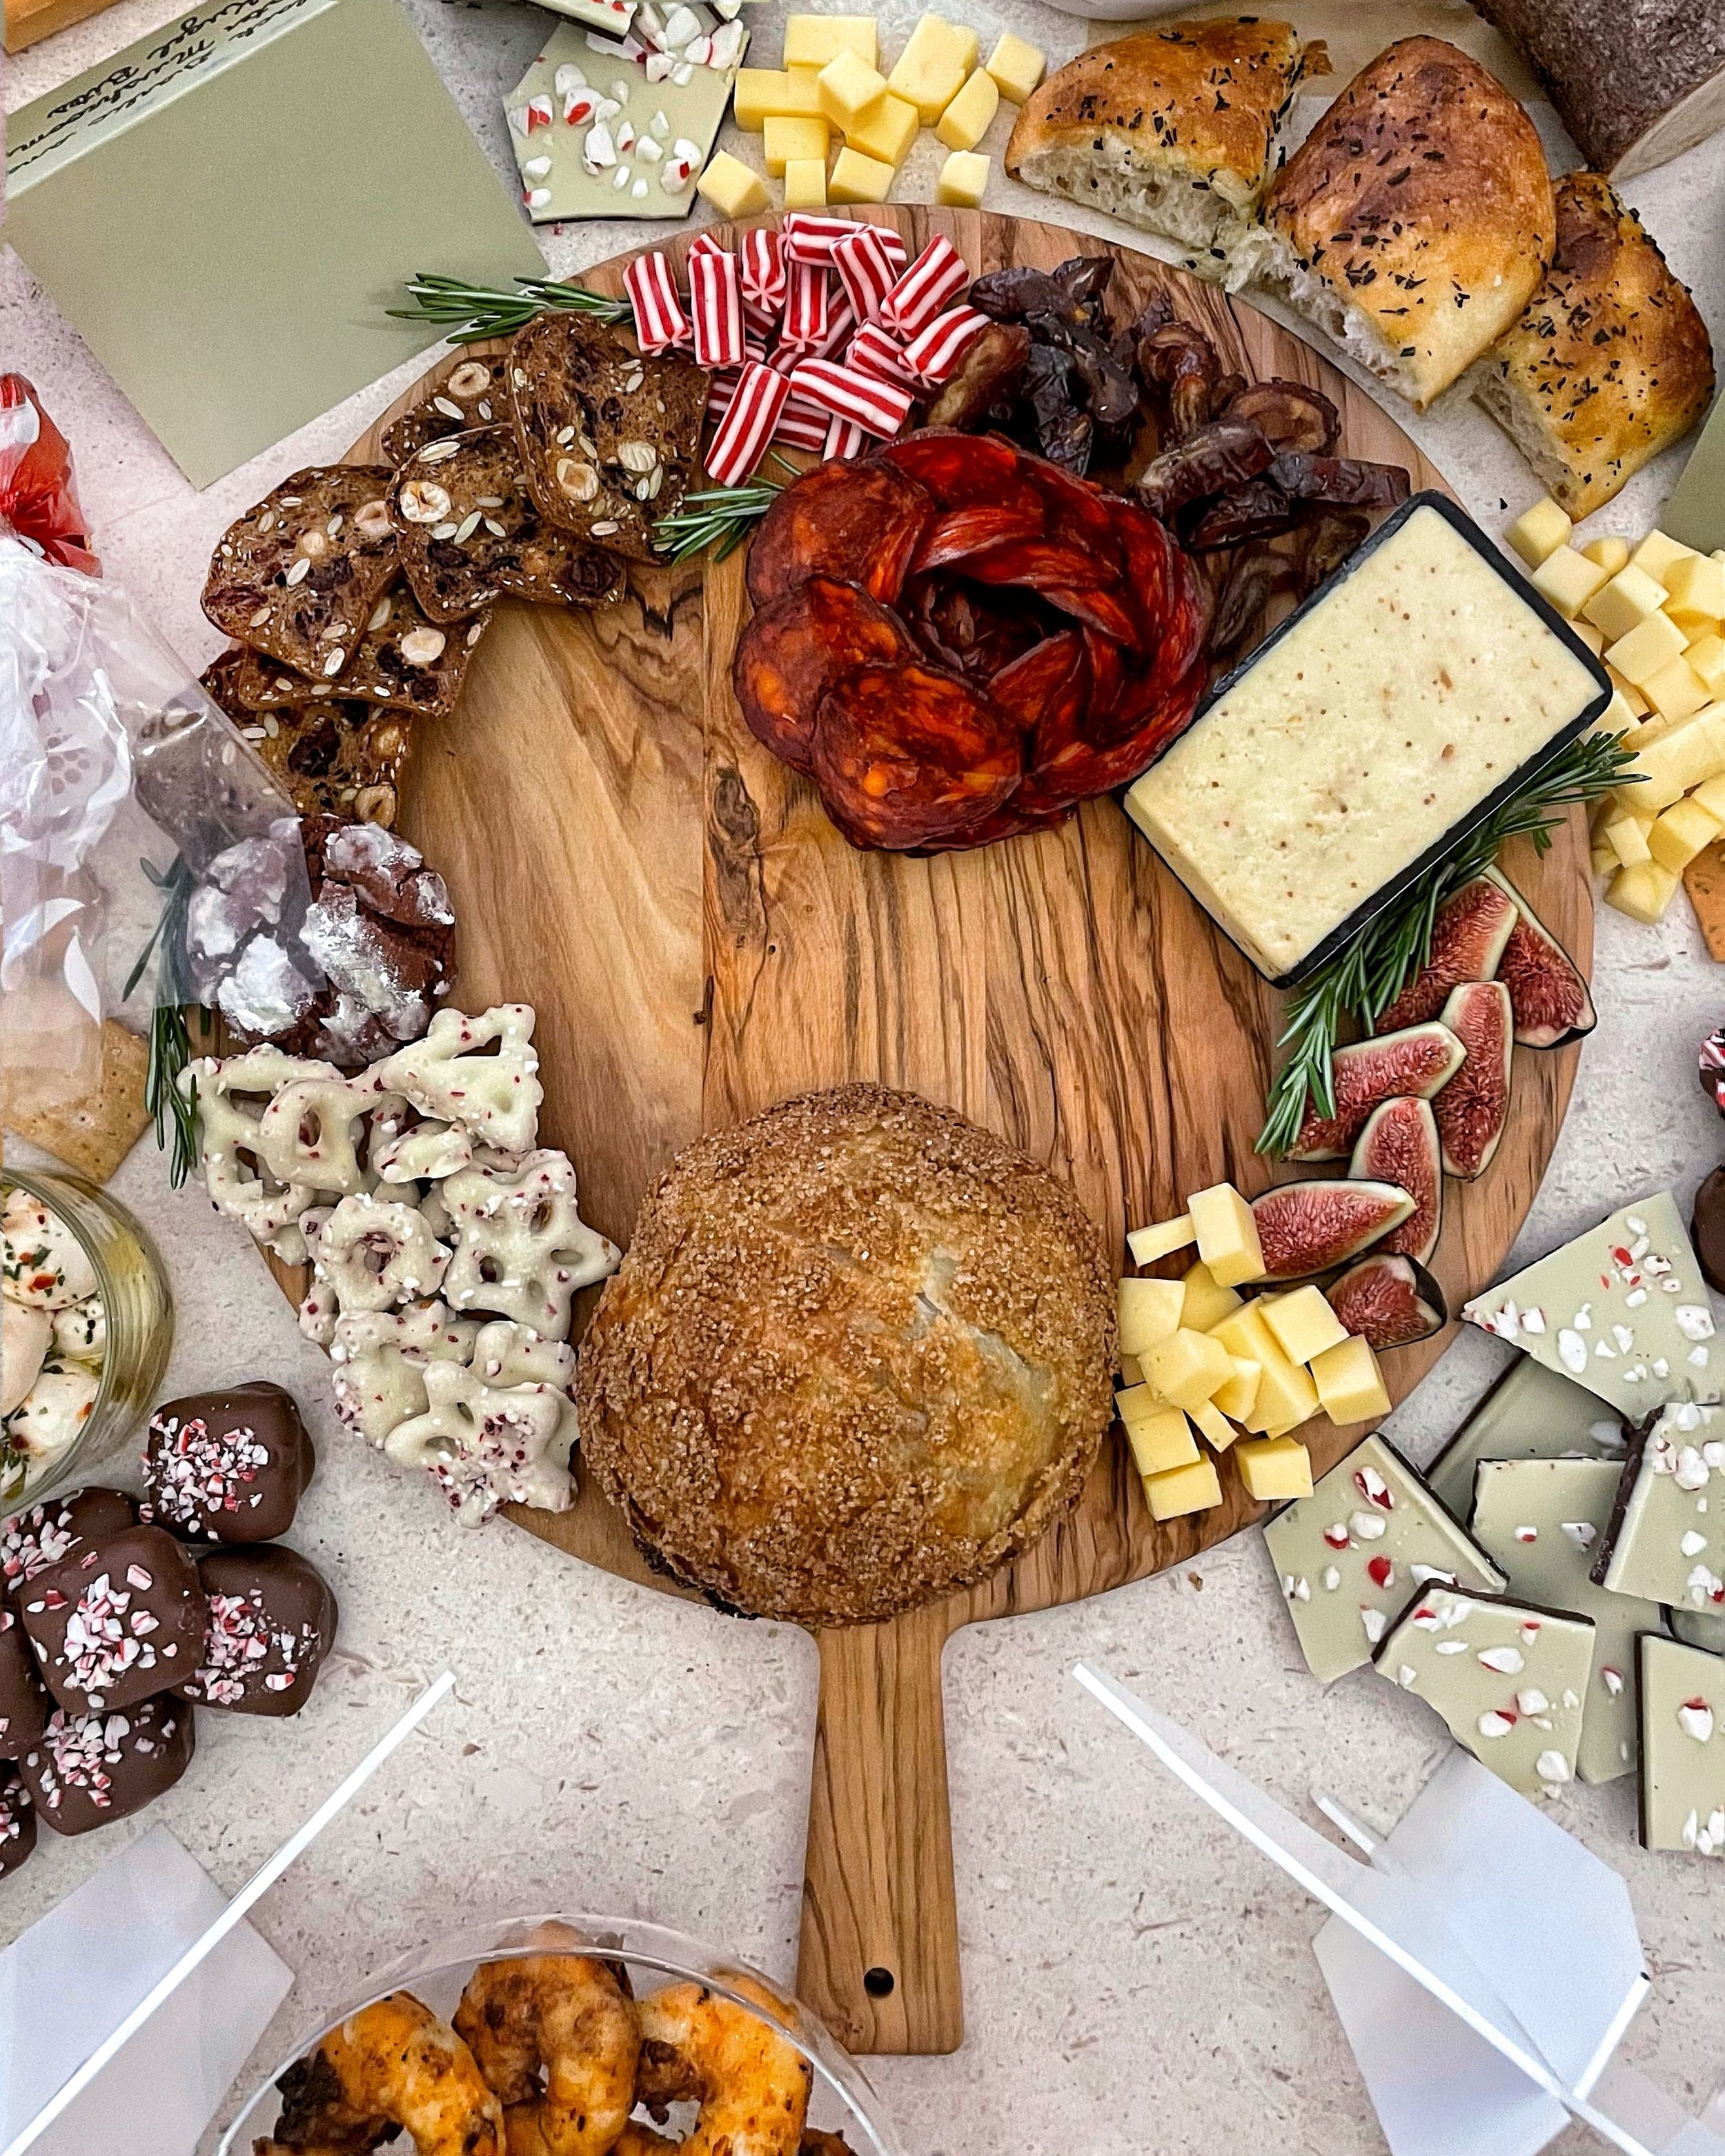

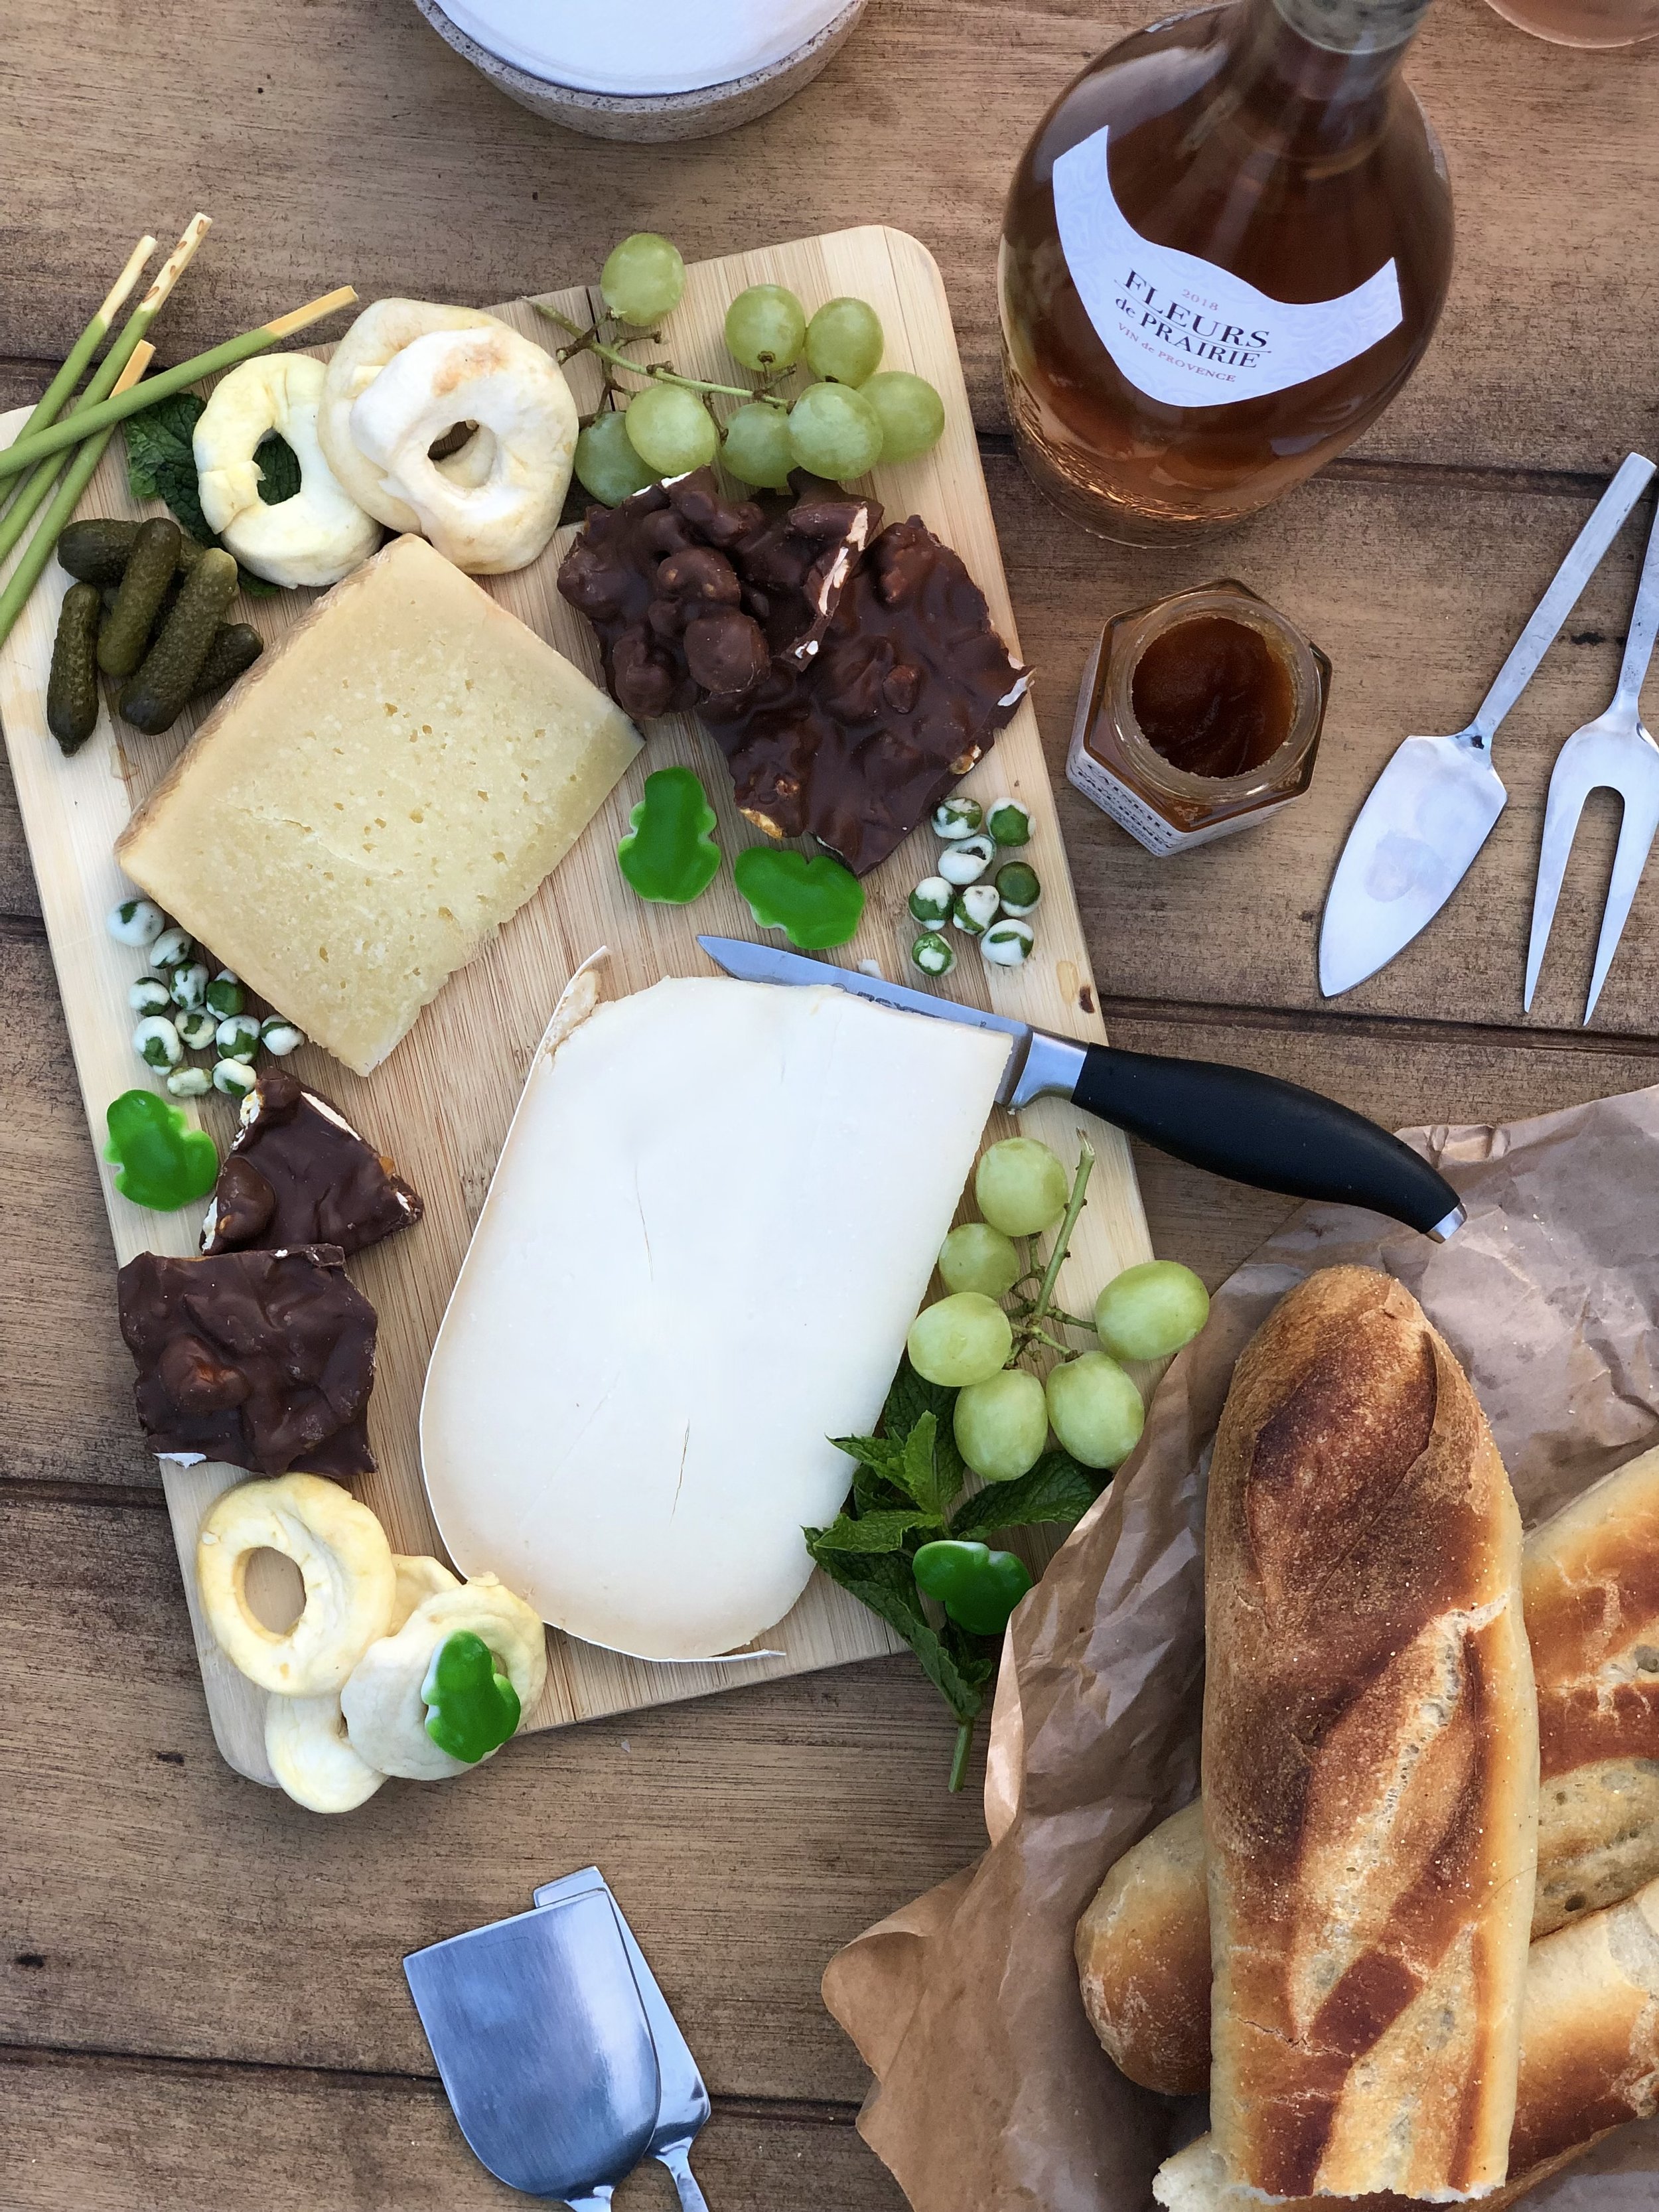
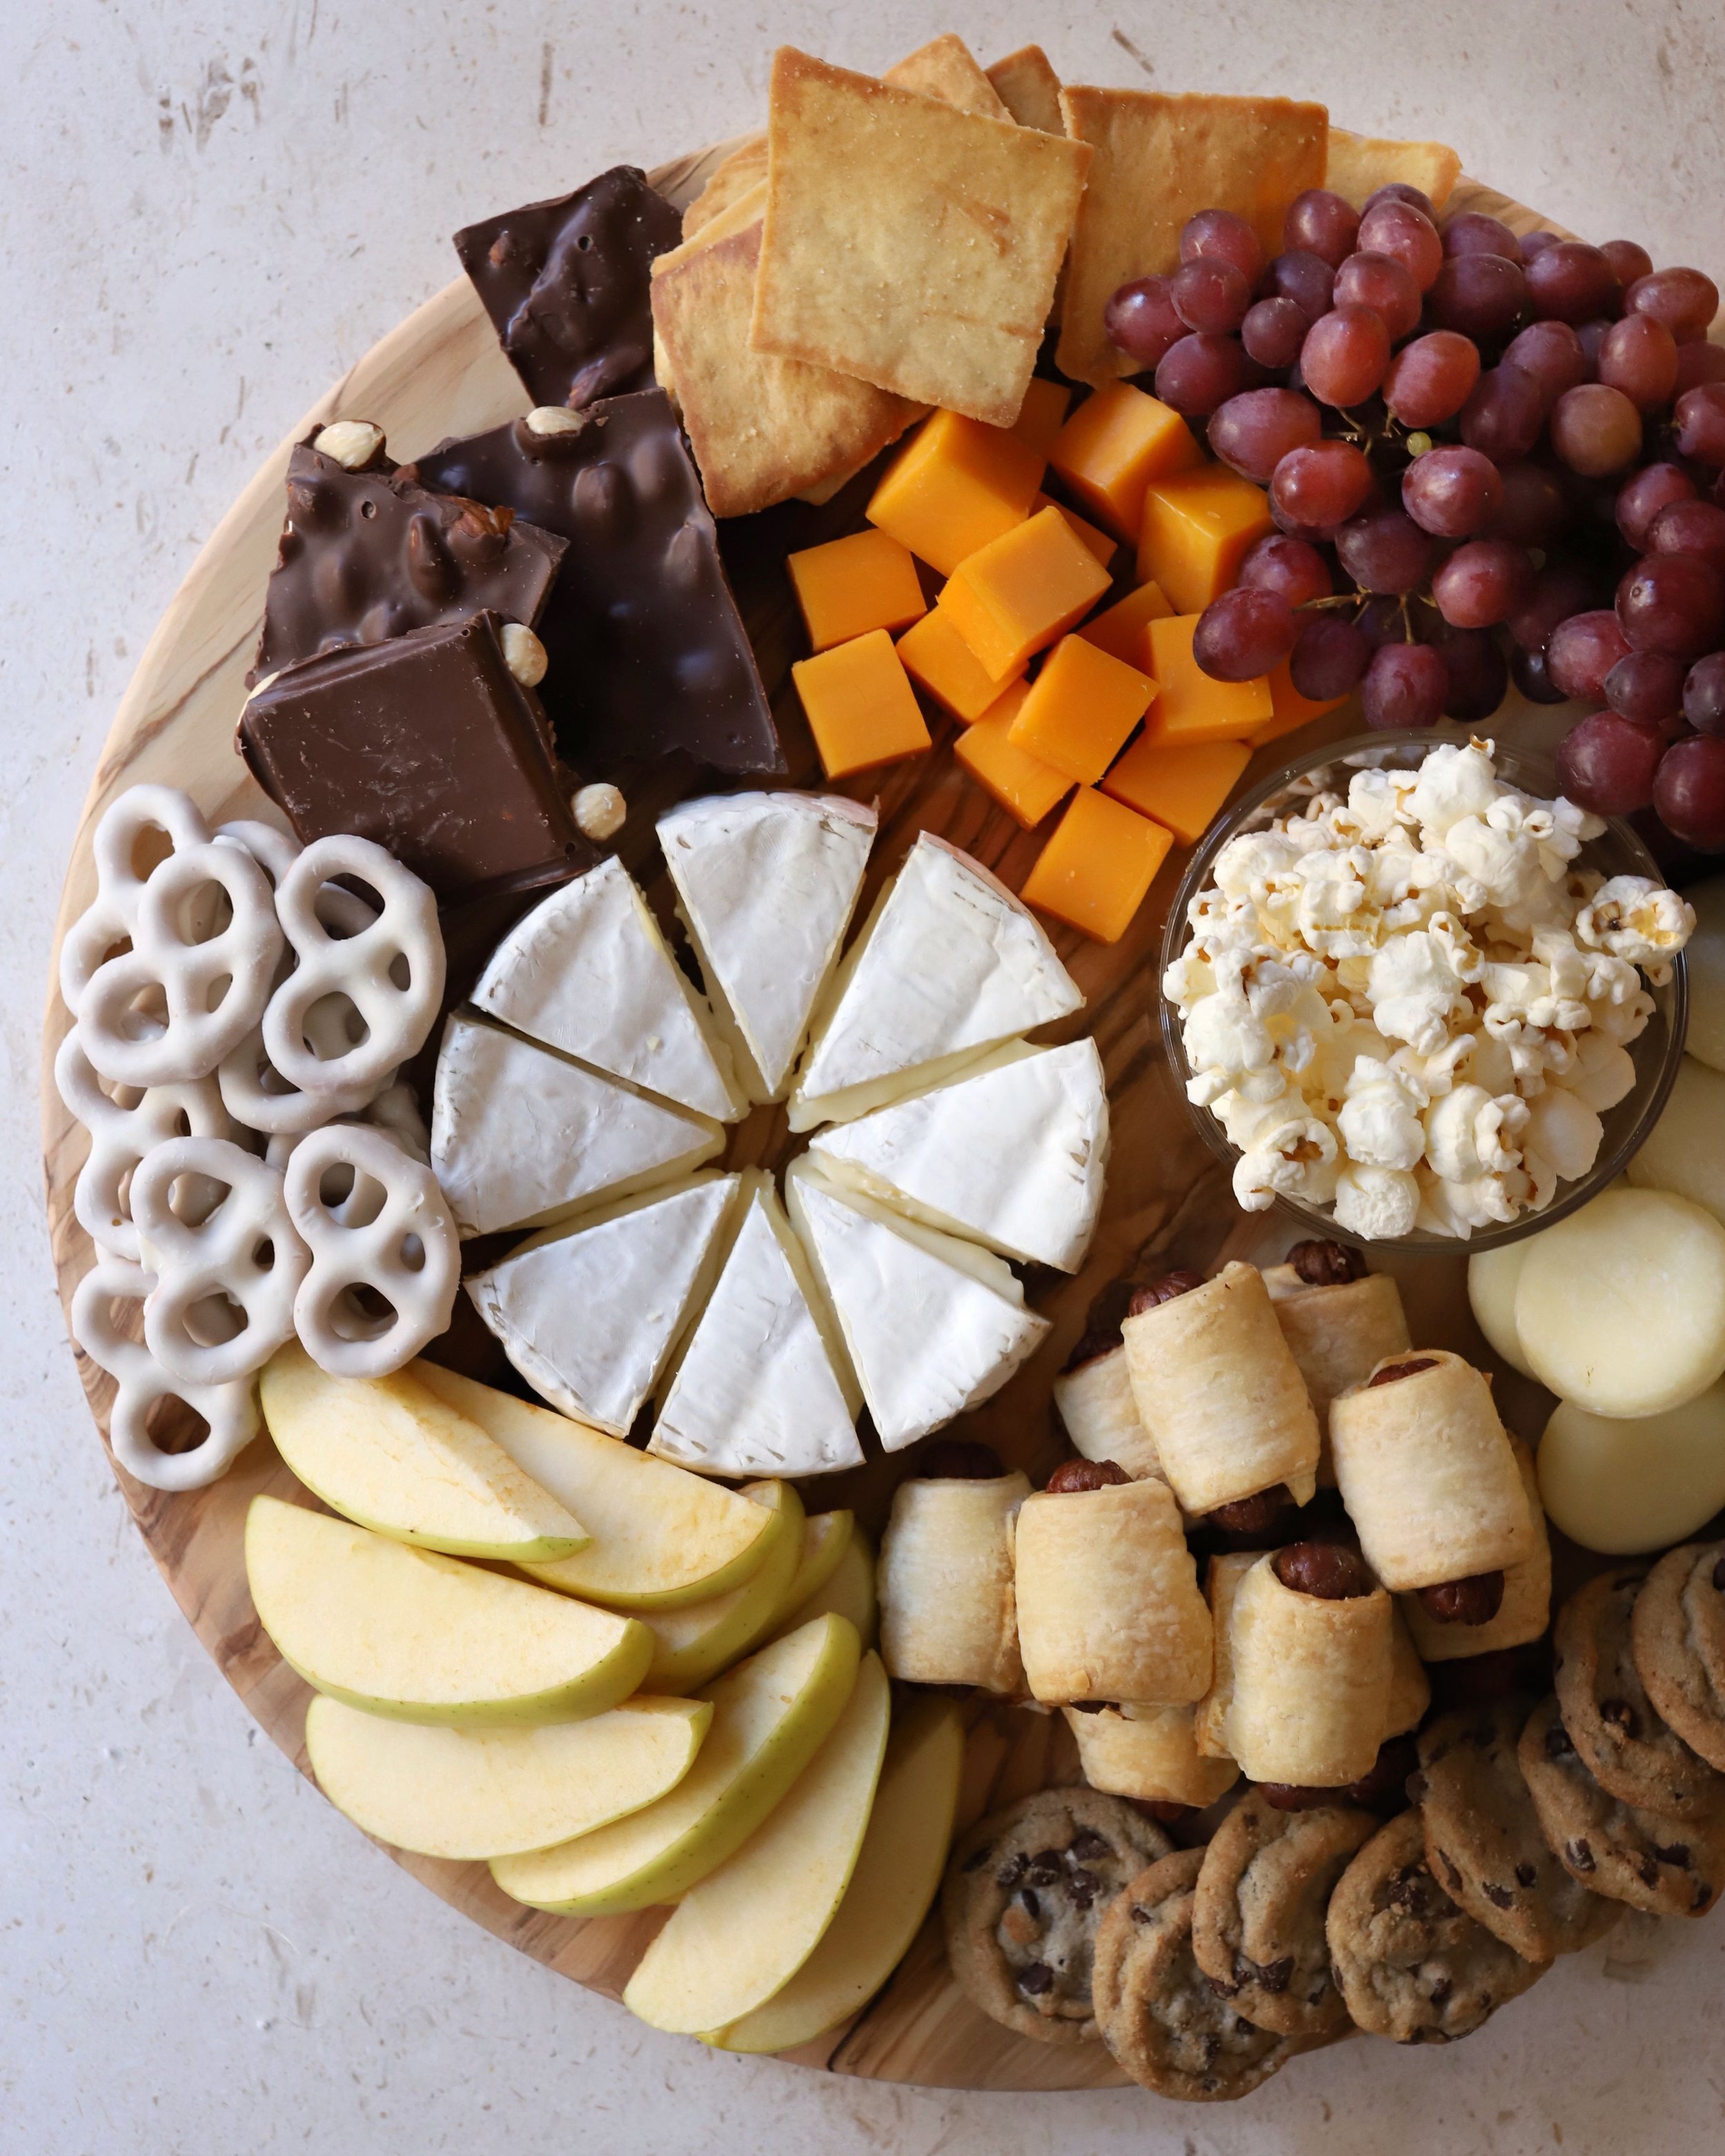


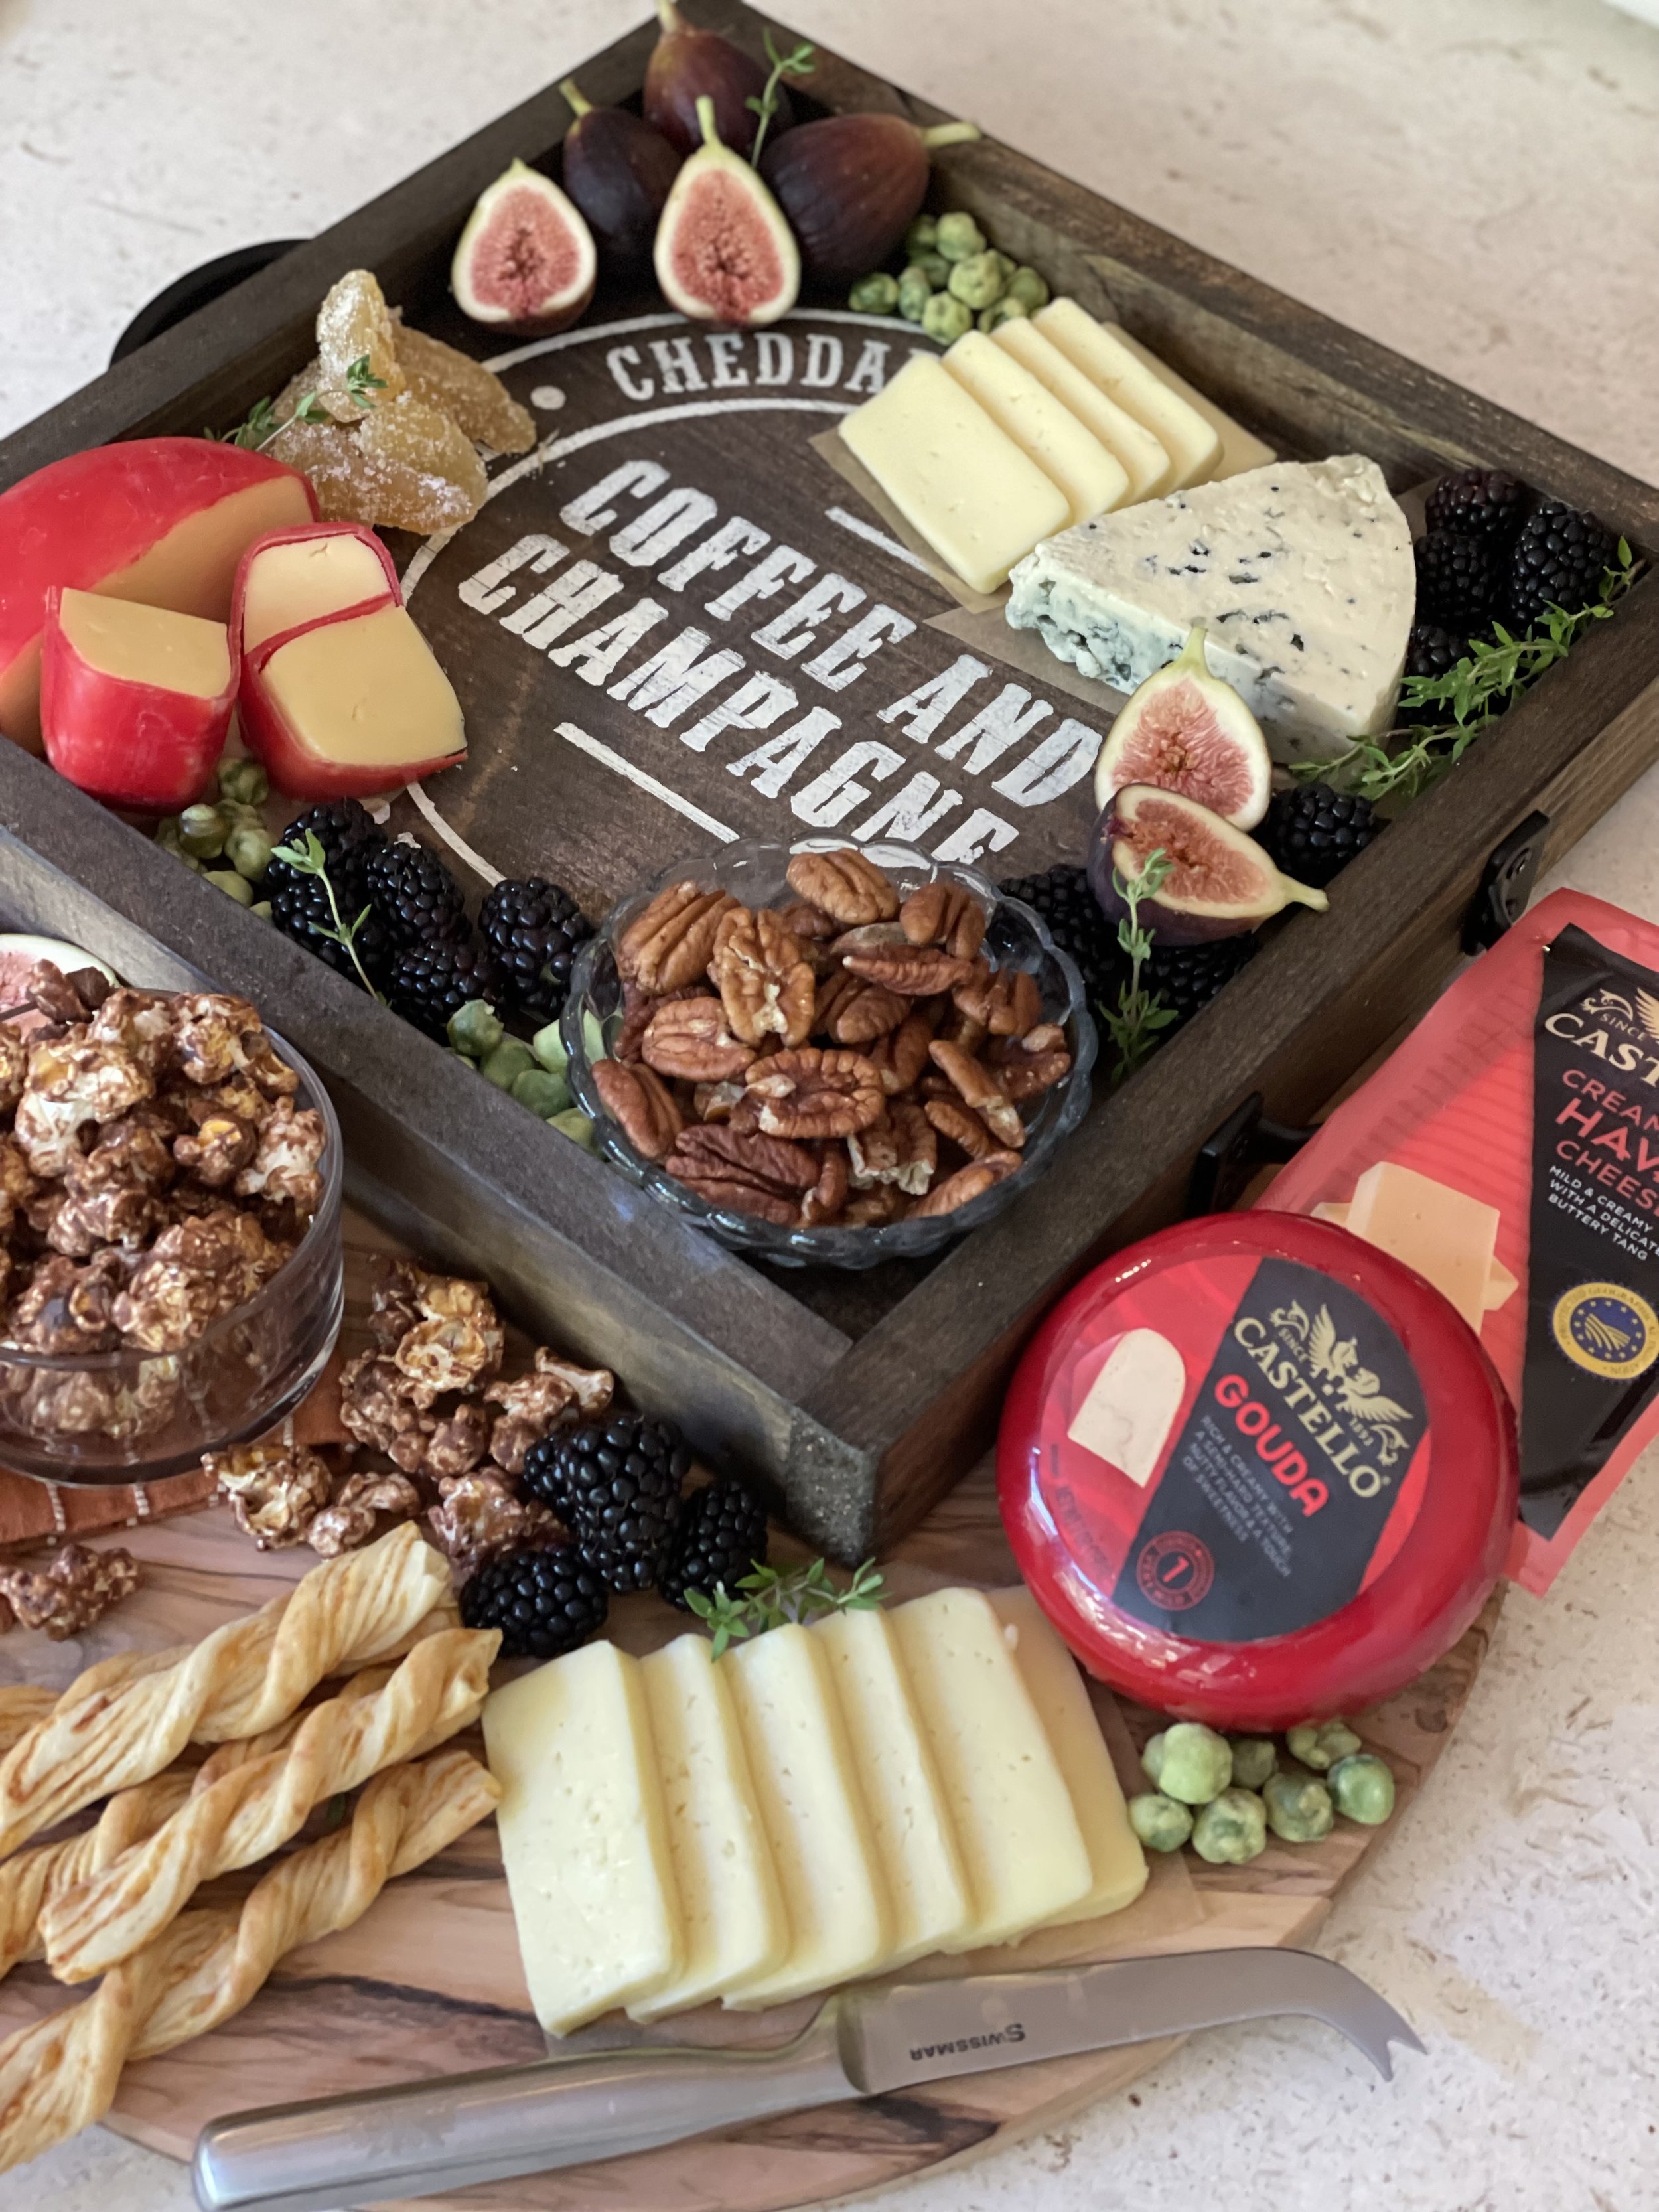


Specific Boards & How To Make Them
Below are links and recipes to help you recreate some of my favorite boards
PUMPKIN PATCH CHEESEBOARD … GIVE YOUR BOARD A THEME!
Giving your cheeseboard a theme is all about creating a visual and flavorful story. Start by thinking about the occasion or season—whether it’s a Fall harvest, a holiday celebration, or a casual gathering, this sets the tone for your board. Mix up textures, shapes, and flavors for variety. For example, you can incorporate seasonal touches like Fall fruits, herbs, or even festive decorations to make it stand out. Thoughtful elements and personal touches, like a special dip or a themed treat, make your board extra memorable.
To make my Pumpkin Patch Cheese Board use the recipes below.
Ritz Cracker Crusted Babybel Cheese Pumpkins
Honey Pumpkin And Sage Compound Butter
Make A Plan For Your Board
For this board, I physically drew a plan. Knowing exactly how I wanted it balanced, I referred to my drawing to match it with the ingredients I cultivated.
Watch the video showing how my drawing turned into this board!


