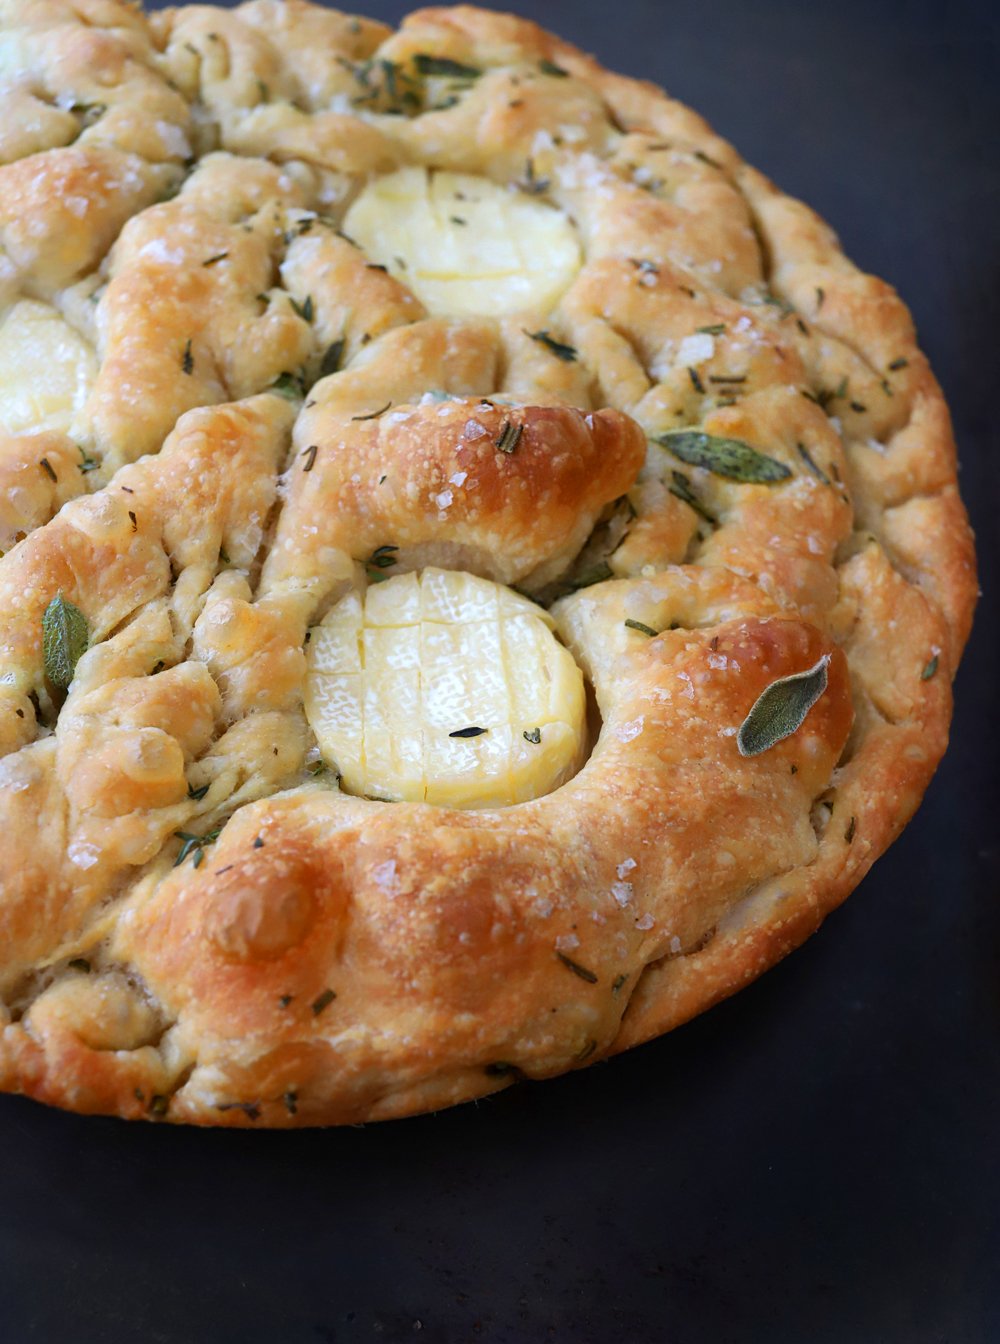
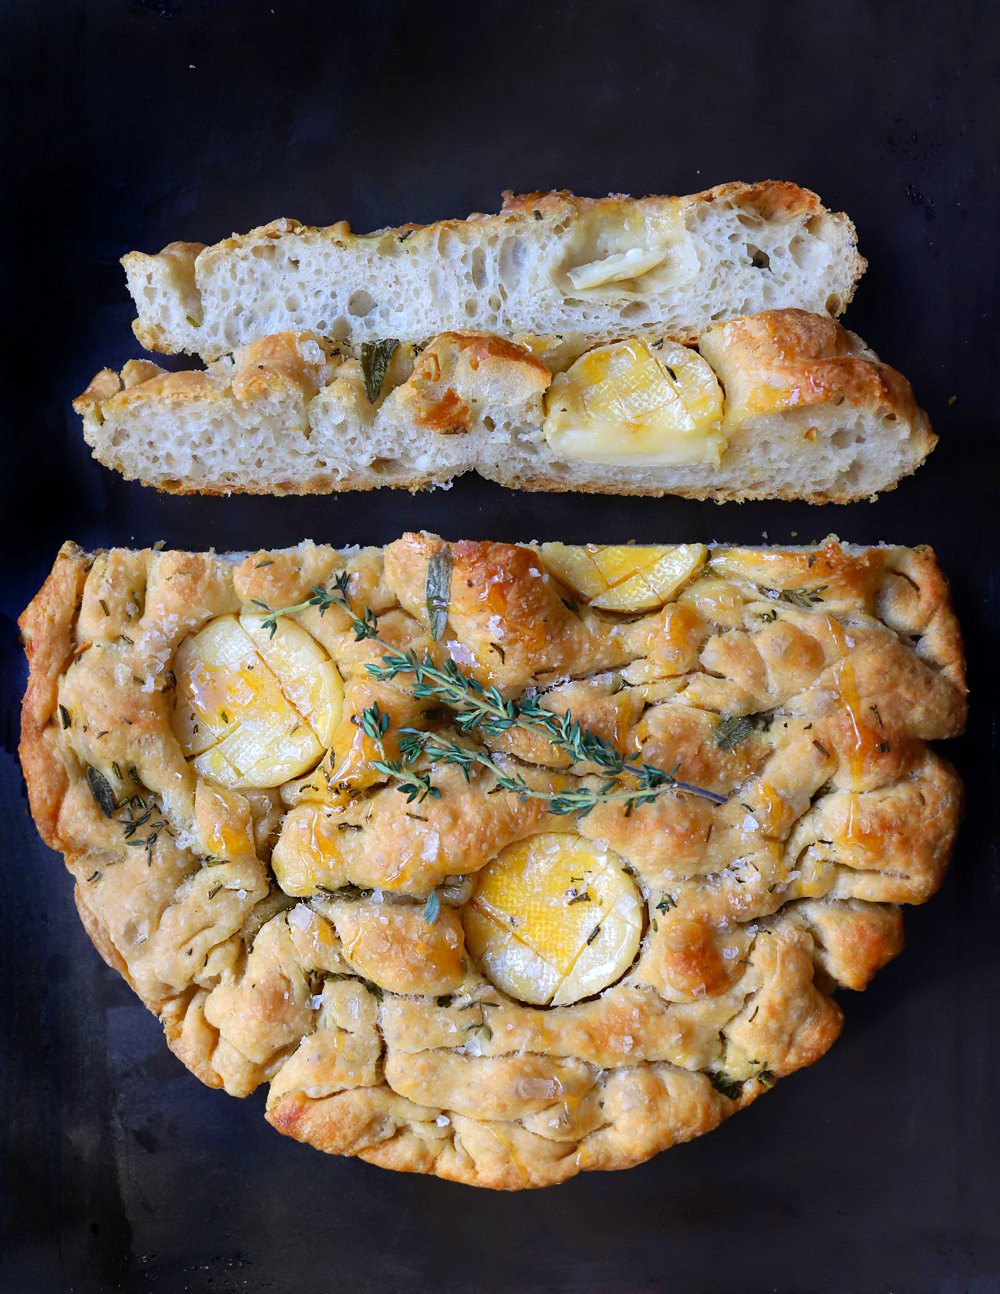
BAKED BRIE FOCACCIA

EASY FOCACCIA that’s also a fun substitute for a cheeseboard.
I had so much fun making this focaccia. There’s something about the science of watching it grow during the proofing on the baking side of the process combined with the freedom of the toppings that I loved. It’s a great balance. Yes, the recipe takes time BUT it’s mostly passive inactive time where the biggest inconvenience in your life is your dough’s irreverent commandeering of your fridge for 48 hours. Before that, it’s about five minutes of active work, another five minutes after the 48 hours of proofing, and then another five minutes of decorating. Everything else is a wait-and-check-on-it elegant baking dance.
The results are so fun! If you’re hosting and you’re bored of a cheeseboard or need an extra special bread in your spread on pasta night, this is the showstopper focaccia recipe to make those wants a reality.

BAKED BRIE FOCACCIA
Ingredients
Instructions
- In your mixing bowl, whisk together flour, salt, and instant yeast.
- Add water. Use your rubber spatula to mix it into a sticky blob-like ball.
- Rub olive oil all over the top of your dough. This is to keep it from forming a crust on its surface while it's cold-proofing.
- Cover the top of your bowl with cling wrap. Do NOT press it down to touch your dough. Your dough will need lots of space to rise.
- Refrigerate for a minimum of 12 hours and up to 72. I let this batch sit in the fridge for 48 hours.
- Spray your pie pan, baking dish, or baking pan with baking spray.
- Pour 1 tablespoon of olive oil in the middle of each of your 8-inch pans or 2 tablespoons in the middle of your 9x13-inch pan.
- Use your two forks to dislodge the dough from the sides and base of your bowl. Scrape and pull toward the center of your mixing bowl. If you're using the two 8-inch pans, use your forks to split your dough evenly in half. Place one half in each pan and roll them around to coat it fully in the olive oil. Do the same thing without cutting your dough in half for the 9x13-inch pan)
- Let them sit uncovered on your counter for their second proof for 3 hours.
- Make sure your oven rack is in the middle of your oven and then preheat it to 425º.
- On your cutting board, cut a 3x3 grid 1/4 of the way deep into the top of each of your brie bites. Press each brie bite evenly around your focaccia dough. It should sit deeply enough that just the tops of the brie wheels stick out.
- Trying to avoid the tops of your brie, evenly sprinkle your chopped rosemary, thyme, and tiny sage leaves over your exposed dough.
- Pour 1 tablespoon of olive oil over each loaf OR 2 over a 9x13-inch loaf.
- Coat your hands in olive oil and then firmly poke your fingers deeply all around the dough causing the signature focaccia dimples and bubbles.
- Sprinkle finishing salt all over it. You will add a little more when it's finished for a final look.
- Bake until golden in color on the top and bottom of your bread—about 35 minutes but check at 25 and again at 30.
- Transfer to your cooling rack.
- Before serving, drizzle honey over your loaf with a little extra on your brie bites.
- Sprinkle a little extra finishing salt over the whole loaf.
- Cut any which way you like. Serve. Eat. Enjoy!